Why Is My Yarn Falling Out? 5 Fixes to Save Your Tufted Rug
Table of Contents
There is nothing… and I mean nothing more heartbreaking in the world of rug making than watching your hard work come undone.
You’ve set up your frame, threaded your gun, and started your first line. But as you pull the gun away, the yarn doesn’t stay in the cloth. It pulls right back out with the needle, leaving you staring at an empty backing and a mess of loose yarn.
I know how frustrating this is. You start to panic. You wonder if your gun is broken, or if you just aren’t cut out for this hobby.
Don’t panic.
This is actually one of the most common issues for beginners. Almost every single tufter has asked, “why is my yarn falling out?” at some point in their journey. The good news? It is almost always a simple mechanical error or a setup issue that takes five minutes to fix.
In this guide, we are going to troubleshoot the five most common reasons your yarn won’t stick, so you can get back to making rugs.
Reason 1: You Haven't Applied Glue Yet (skip this if you aren't a rookie!)
If you are looking at the back of your rug (the side you are working on) and pulling at the yarn, and it comes right out… congratulations! You are normal.
This might sound obvious to seasoned veterans, but many beginners don’t realize that tufting is not weaving.
When you use a tufting gun, you are simply pushing loops of yarn through a mesh fabric. There are no knots being tied. There is no complex friction holding it there. Until you apply adhesive, that yarn is just sitting loosely in the holes.
If you tug on a tuft before the rug is glued, it will fall out.
How to Fix It: You must understand the process: Tuft first, glue second. Do not pull on your yarn strands while you are working. Trust the process. Once your design is finished, you will apply a specialized adhesive to the back to lock everything in place permanently.
If you aren’t sure which adhesive to use to ensure your rug lasts a lifetime, you need to check out our guide on the Best Glue for Tufting Rugs (Don’t Ruin Your Project). Using the wrong glue is a disaster waiting to happen.
Reason 2: The Cloth Is Too Loose
If you are actively tufting and the yarn is falling out as you work (meaning the gun isn’t even leaving a loop behind), the culprit is almost always your cloth tension.
Your tufting cloth needs to be drum-tight.
Here is why: The tufting needle is aggressive. It punches forward with force. If your cloth is loose, it has “give.” When the needle pushes forward, the cloth stretches with it. When the needle retracts, the cloth bounces back, and the friction that is supposed to grab the yarn isn’t there.
Consequently, the yarn stays with the needle instead of staying in the cloth. This is a major reason why is my yarn falling out for so many beginners.
How to Fix It: You need to stretch your primary backing cloth until it hurts your fingers.
-
Start by stapling or hooking your cloth to the frame.
-
Pull it tight on all four sides.
-
Tap the cloth with your finger. It should sound like a drum.
-
If it sags even a little bit, retighten it.
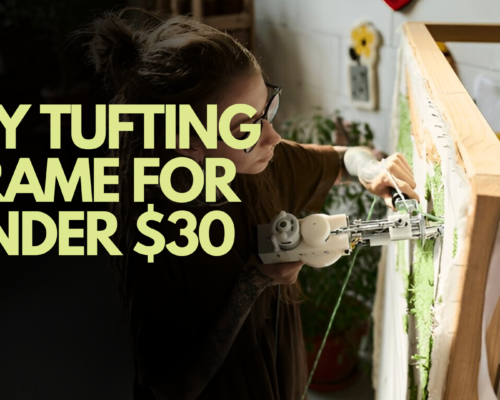
If your frame is wobbling or warping while you try to tighten the cloth, your frame might not be sturdy enough. A weak frame makes it impossible to keep the cloth tight. If you suspect your setup is the issue, read our plans on How to Build a DIY Tufting Frame for Under $30 to ensure you have a solid foundation.
Reason 3: You Are Tufting Too Close Together
Sometimes, in an effort to get a super dense, fluffy rug, we overdo it.
We go over the same line twice. Or, we space our lines so close together that they overlap.
When you do this, you are essentially shredding your primary backing cloth. The tufting gun needle is thick. If you punch too many holes in a small area, you destroy the structural integrity of the fabric mesh.
Instead of holding the yarn, the mesh turns into a gaping hole. Without the mesh strands to grip the yarn, there is nothing to hold it in place. You end up asking, “why is my yarn falling out?” because there is no cloth left to hold it!
How to Fix It:
-
Leave a gap: Leave a tiny bit of space between your vertical lines.
-
Don’t overwork areas: Never go over the same line twice. If you missed a spot, hand-thread it later.
-
Check your cloth: If you see a large hole forming, stop immediately.
If you have already shredded your fabric and created a massive hole, don’t throw the rug away yet. We have a specific guide on how to patch these nightmares. Read Why Is My Tufting Cloth Tearing? (The Ultimate Troubleshooting Guide) to learn how to save your project.
Reason 4: Your Yarn Is Too Thick or Too Thin
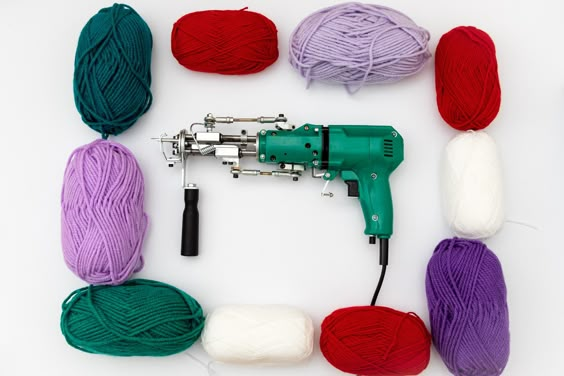
Your tufting gun is a precision tool designed to handle specific yarn weights. The standard Cut Pile and Loop Pile guns work best with medium-weight yarn (usually two strands of Acrylic weight 4).
If the yarn is too thick: It will get stuck in the needle eye or the yarn feeder. When the gun tries to push the yarn into the cloth, the tension from the spool prevents it from flowing freely. The gun punches the hole, but the yarn doesn’t feed through, so the needle comes out empty.
If the yarn is too thin: The needle punches a large hole, but the skinny yarn doesn’t have enough bulk to stay wedged in that hole. It slips right back out.
How to Fix It:
-
The “Floss” Test: Make sure your yarn flows through the needle eye smoothly with zero resistance.
-
Use Two Strands: If you are using standard acrylic yarn, thread two strands at once into the gun. This creates the perfect thickness for the mechanism to grab onto, preventing the “why is my yarn falling out” mystery.
-
Check the Path: Ensure your yarn isn’t caught on your frame or the floor. It needs to flow freely from the cone to the gun.
Reason 5: The Scissors Are Dull or Misaligned (Cut Pile Only)
If you are using a Cut Pile gun (the most common type), this is a sneaky mechanical issue.
The Cut Pile gun works in a 2-step rhythm:
-
Push: The needle pushes yarn into the cloth.
-
Cut: The scissors extend and snip the yarn, leaving a cut tuft in the cloth.
If your scissors are dull, or if the timing is off, the scissors won’t snip the yarn. Instead, the gun will retract the needle while the yarn is still attached to the spool.
Because the yarn wasn’t cut, the gun pulls the loop right back out of the cloth as it moves to the next spot. You will see loops forming on the front for a split second, and then ripping out as you move.
If you are screaming, “Why is my yarn falling out and looking like loops?”, your scissors are the problem.
How to Fix It: You likely need to adjust the scissor closer or sharpen the blades. This is known as the “looping” issue. It requires a specific adjustment to the unexpected Allen key bolt on the front of your gun.
We have a step-by-step tutorial on exactly how to troubleshoot this mechanical fault. Go read Tufting Gun Scissors Not Cutting? (How to Stop the “Looping” Nightmare) immediately if this sounds like your problem.
Conclusion
Asking “why is my yarn falling out” is a rite of passage for every tufter. It doesn’t mean you are bad at this; it just means you need to tweak your setup.
Remember the checklist:
Glue: Yarn falls out if you pull it before gluing.
Tension: Stretch that cloth until it’s drum-tight.
Spacing: Don’t shred your cloth by packing yarn too tight.
Yarn Flow: Ensure the yarn feeds smoothly and isn’t caught.
Scissors: Make sure your gun is actually cutting the yarn.
Take a deep breath. Check your cloth tension first—that solves 80% of these cases. You are creating something beautiful, and a few loose strands aren’t going to stop you.
Now, tighten up that frame and get back to tufting!