Tufting Gun Pile Height Adjustment: How to Change the Fluffiness
Table of Contents
So, you’ve mastered the basics. Your lines are straight, your cloth is tight, and your rugs look good.
But now you want more. You want that deep, luxurious “shag” look for a specific project. Or maybe you want a short, tight pile for intricate lettering.
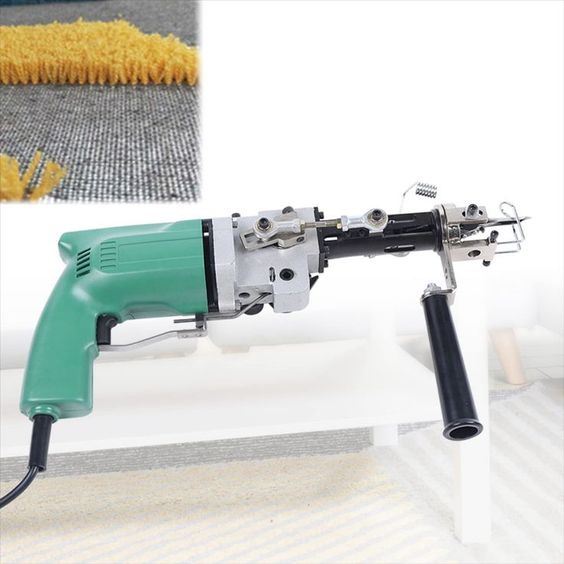
Most AK-1 Cut Pile guns come from the factory set to a standard 12mm to 14mm pile height. But did you know your gun is capable of going up to 18mm or down to 7mm?
Performing a tufting gun pile height adjustment is not as simple as turning a dial. It involves changing the geometry of the machine. If you do it wrong, your scissors will stop cutting.
Here is the safe, mechanic-approved way to adjust your pile height without breaking your gun.
The Concept: Two Things Must Move
To change the length of the yarn (pile height), you can’t just move the needle. You have to move the “Foot” too.
The Needle Stroke: A longer stroke = longer yarn.
The Foot Position: If the needle extends further, the foot must slide back to allow that extra distance.
Warning: This is an intermediate modification. If you are brand new to tufting, I recommend sticking with the factory settings until you are comfortable with the tool.
Step 1: Adjusting the Needle Bar (The Stroke)
First, we need to tell the needle to travel a longer distance.
Unplug the gun. (Seriously, unplug it).
Locate the Bearing Screw on the main white gear.
Look at the big white gear on the side. There is a screw that connects the metal arm to the gear.
Loosen the Screw: Use your Allen key to loosen it.
Slide it:
For Longer Pile: Slide the screw away from the center of the gear (towards the outer edge). This makes the arm swing in a wider circle, creating a longer stroke.
For Shorter Pile: Slide the screw towards the center of the gear.
Tighten it.
Step 2: Adjusting the Metal Foot
Now that the needle is moving further, it’s going to hit the cloth too hard unless we move the foot back.
Find the screw that holds the Metal L-Foot (the part that touches the canvas).
Loosen the screw.
Adjust the Foot:
If you increased pile height: Slide the foot away from the gun body (extend it).
If you decreased pile height: Slide the foot closer to the gun body.
The Check: Rotate the white gear by hand. Ensure the needle tip just barely retracts inside the foot at its lowest point. It shouldn’t disappear deep inside, nor should it stick out when fully retracted.
Step 3: The Step Everyone Forgets (Re-Aligning the Scissors)
This is where 90% of people fail their tufting gun pile height adjustment.
When you changed the stroke length in Step 1, you also changed when the scissors hit the Closing Block.
If you made the pile longer, the scissors are now traveling further forward. They might hit the closing block too early and jam.
If you made the pile shorter, they might not reach the closing block at all.
You must re-check your Closing Block:
Rotate the gear by hand.
Watch the scissors.
If they aren’t snapping shut, move the Closing Block (the small front bracket) forward or backward until they snap exactly at the furthest point of the stroke.
(Refer to my guide on “Scissors Not Cutting” for the detailed steps on this).
Why Is My Gun Making a Clicking Noise Now?
If you finished your tufting gun pile height adjustment and turned it on, and you hear a loud CLACK-CLACK-CLACK:
Turn it off immediately.
This usually means you extended the needle stroke too far, and the bearing is hitting the frame of the gun, or the scissors are slamming into the front guard.
The Fix: Reduce the stroke length slightly (Step 1). You might have pushed the limit of what your specific model can handle.
Summary
Adjusting your pile height opens up a whole new world of textures. You can create “3D” sculpted rugs by having some sections high and some low.
The Checklist:
Move the bearing on the white gear (Out = Long, In = Short).
Move the foot to match the needle depth.
Crucially: Re-align the scissor closing block so it still cuts.
Take your time, use your manual rotation to test, and enjoy your fluffy new rug!